Garden Shed Building for Beginners
When we moved into our current house in Chepstow four years ago, it had a large shed or garden room at the bottom of the garden. The shed had been built as a lockdown project using a lot of recycled materials. It was open fronted and was being used as a games room with a table tennis table and darts board.
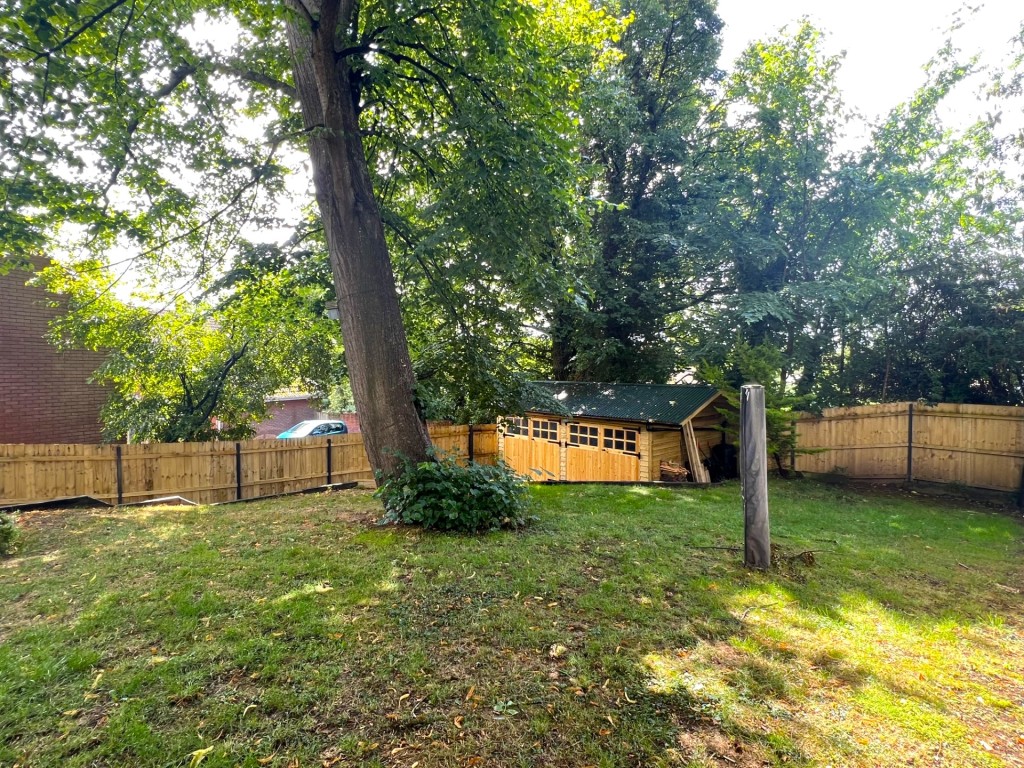
Needless to say, I was excited with the possibilities of the shed. As a wannabee carpenter, I really wanted a workshop where I could hide away and tinker on various projects.
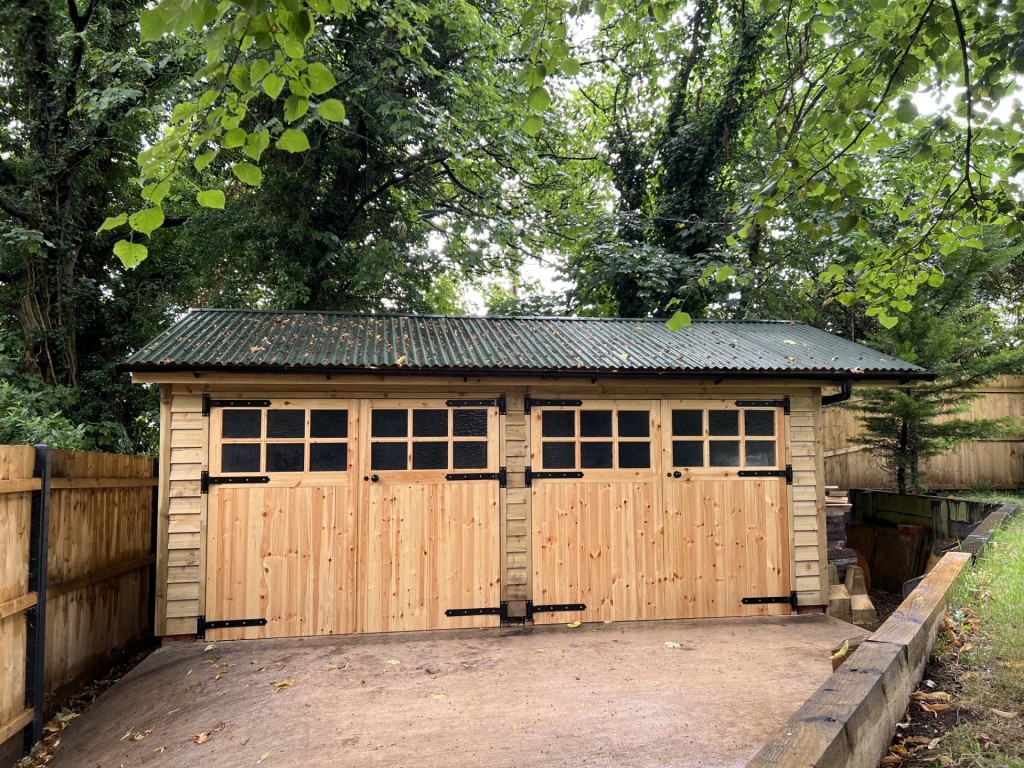
Initially we simply used the shed for bike storage but being open fronted it wasn’t very secure. So, the first thing we did was purchase some old-fashioned wooden garage doors to try and make the shed lockable.
It was that this point that we encountered our first issue. The front of the shed was heavily bowed! It was impossible to fit the doors! As a result of the way the shed had been constructed and possibly the weight of the roof, the front had arched outward by a couple of inches.
Over the next few months, we tried everything to try and straighten out the shed. We tried acro-props under the roof line, we tried tensioned wire between front and back – but all to no avail. We also discovered that the shed was built on a base of stone dust and that several of the supporting posts were rotten. Sadly, a rebuild was necessary. So, one skip hire later and the old shed was demolished.
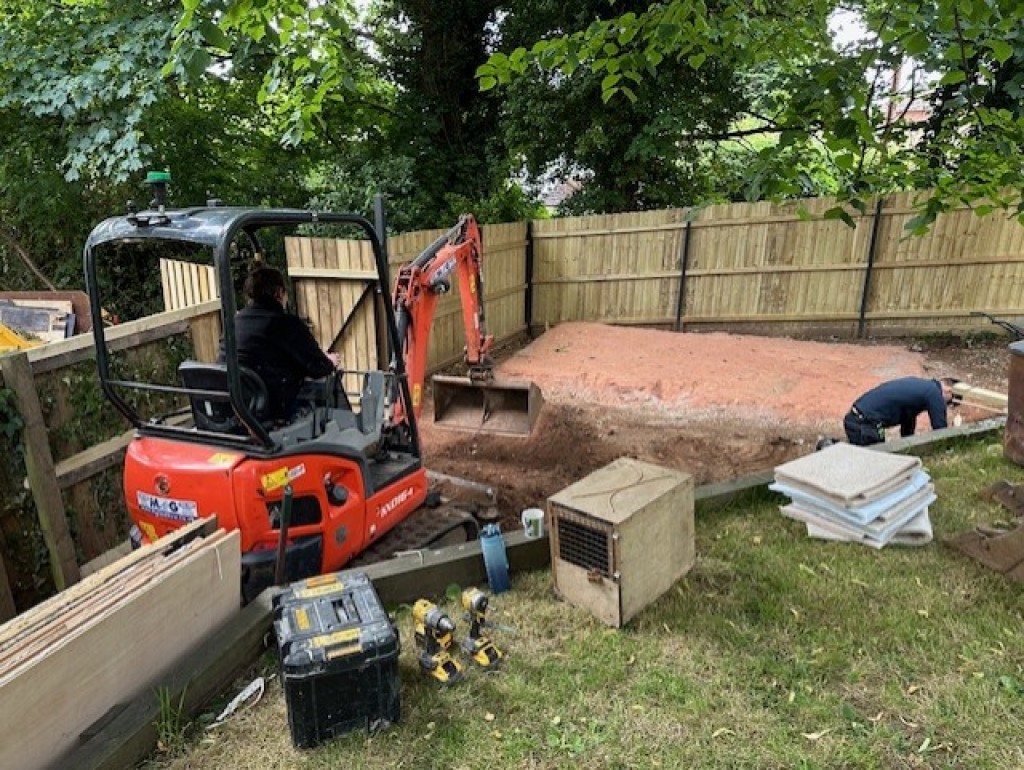
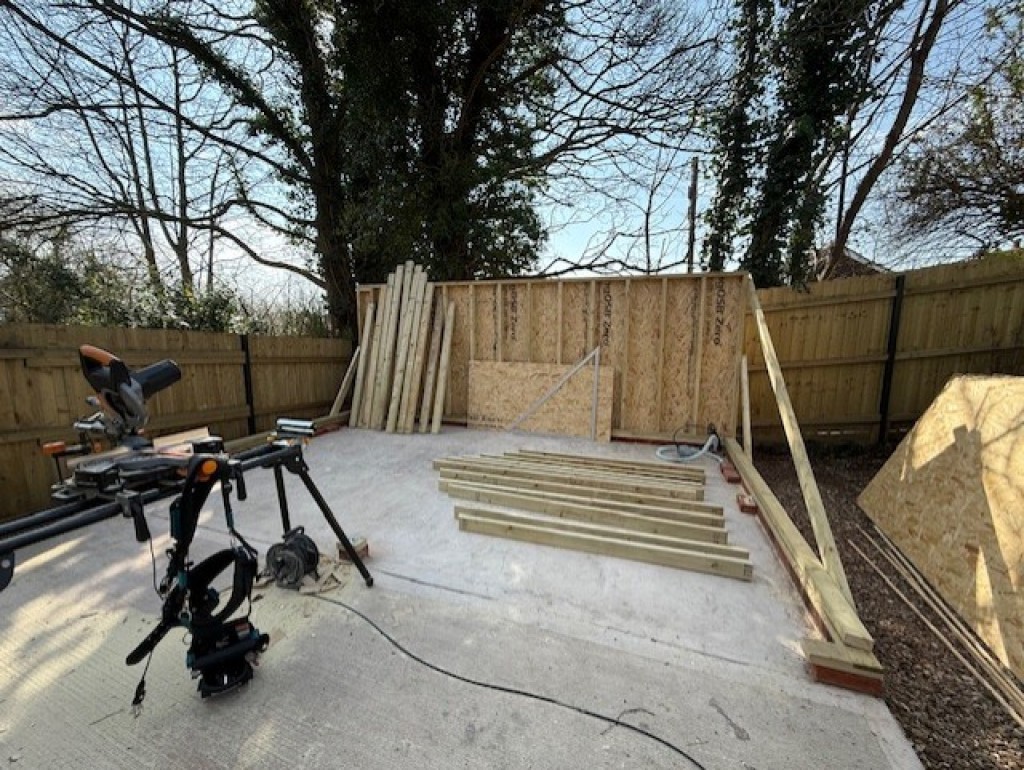
The first job was a new concrete base. The stone dust base was nice and compact so thankfully there was no need to dig it out much. Pouring concrete was a bit beyond me so we outsourced the slab to some local friends who had it knocked out in a couple of days.
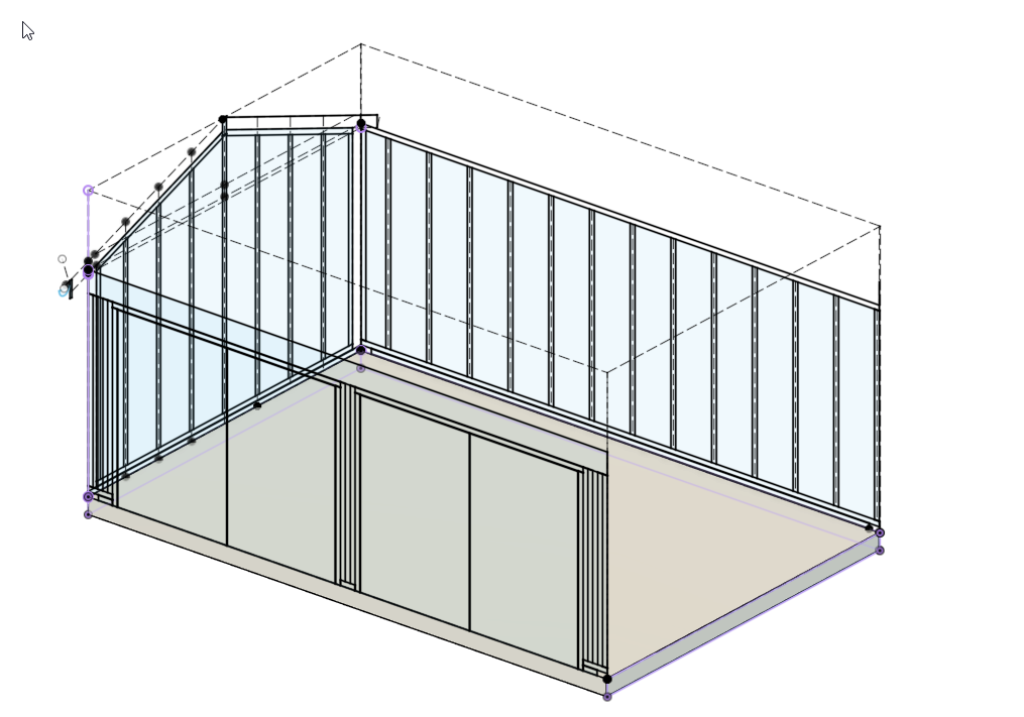
I’d drawn the shed up in CAD at this point – but once the slab was laid I was able to double- check measurements, make some final tweaks and start to order some timber.
I should probably back-track a bit here and talk about the design. I wanted something that would look old fashioned – a nice English garden shed look. I also wanted it to be low maintenance, well insulated, and to have power and data connections.
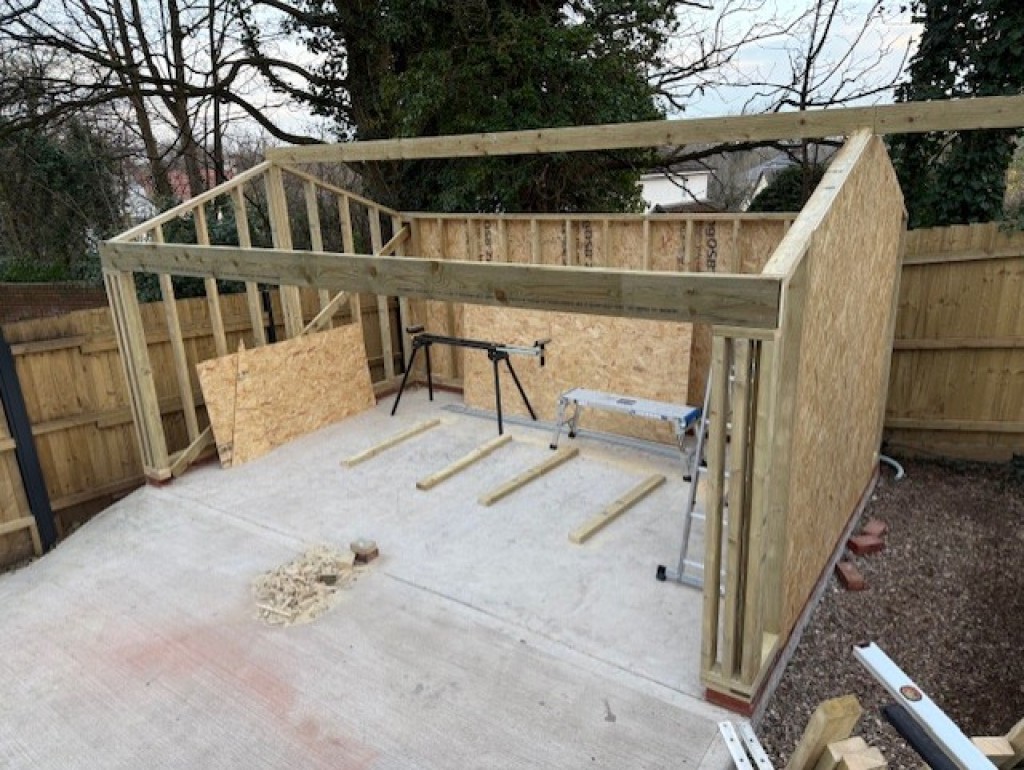
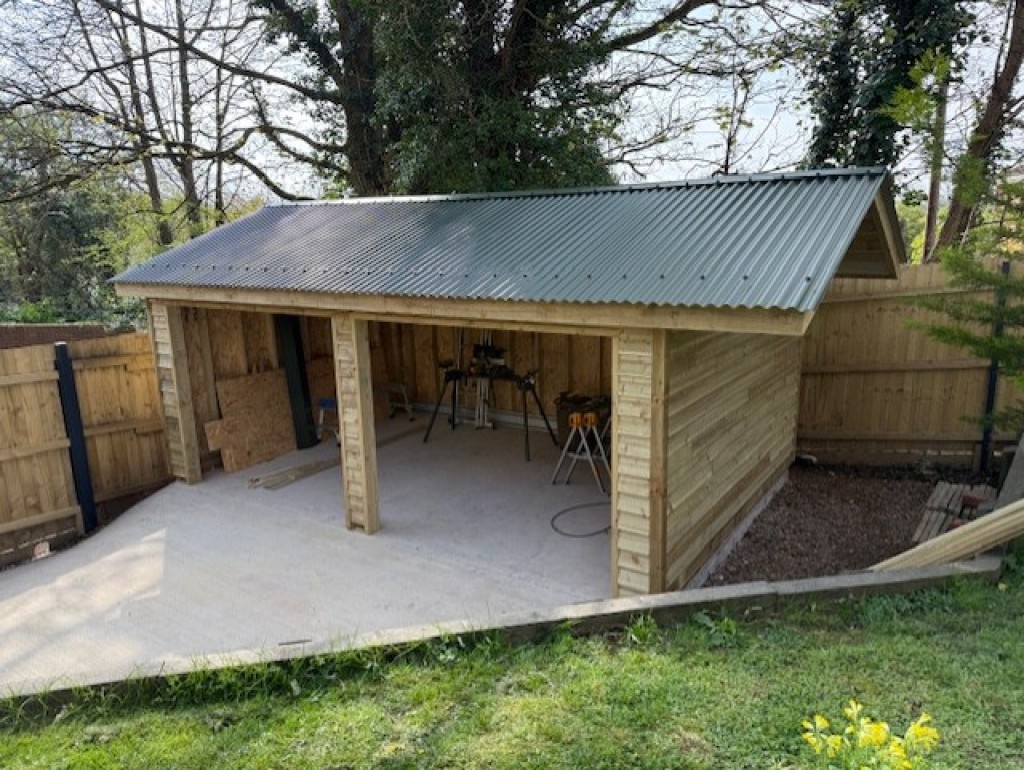
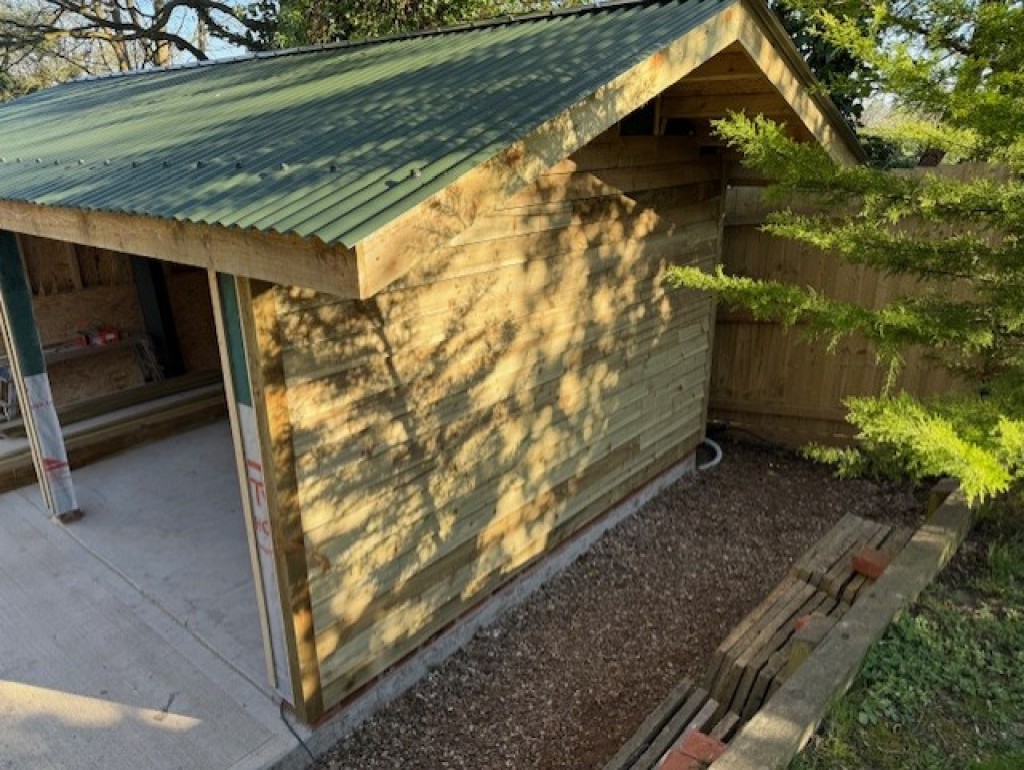
I think the more I read online the more confused I got. There seemed to be so many opinions as to construction methods, weather proofing and insulation. In the end, I just went with the suggestions that made sense to me. So the main structure was made from treated 100x47mm (4x2”) timber stud frames, clad on both sides with 12mm OSB (Oriented Strand Board) with ‘rockwool’ type insulation in between. Externally, we added a breathable membrane, then some battens to create a small airgap and finally some simple feather edge boards laid horizontally. The roof was constructed with simple A frames; then covered in 12mm OSB and a waterproof membrane. Then finally some dark green corrugated iron for that retro look.


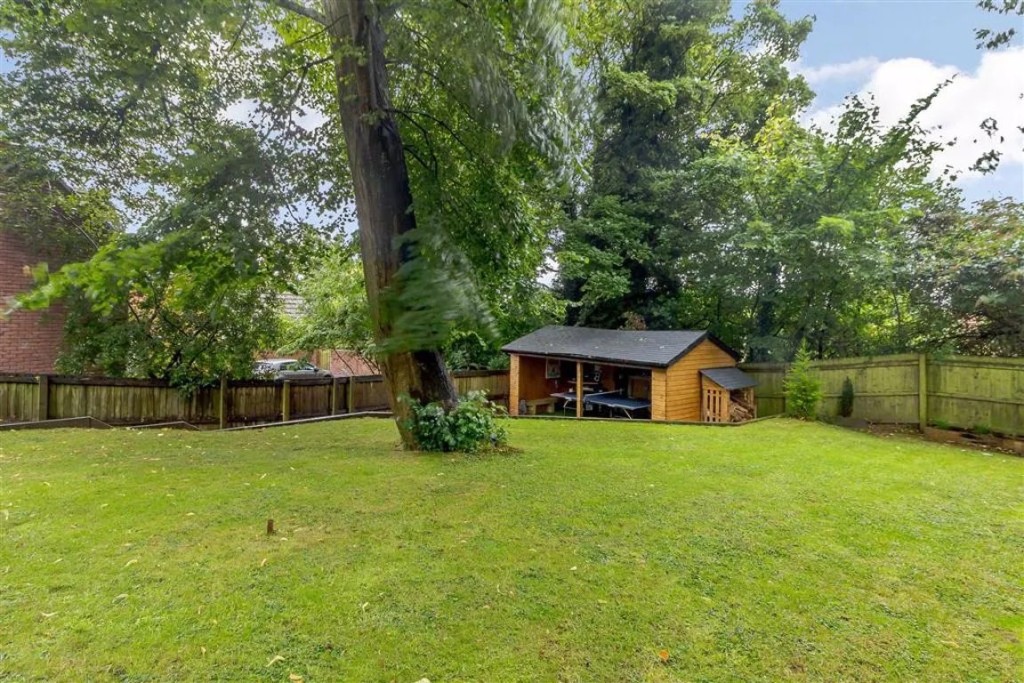
We placed all the frame on a single row of bricks around the edge of the slab just to get the timber off the slab and never sitting in water. This also added a nice feature around the bottom. The shed was around 5.5m long but the ridge beam came in 6m length. Rather than cut this to length, we decided to add an overhang on the end of the shed for storage and space for a water butt.
We were then finally able to add the old-fashioned garage doors that we’d bought several years before!
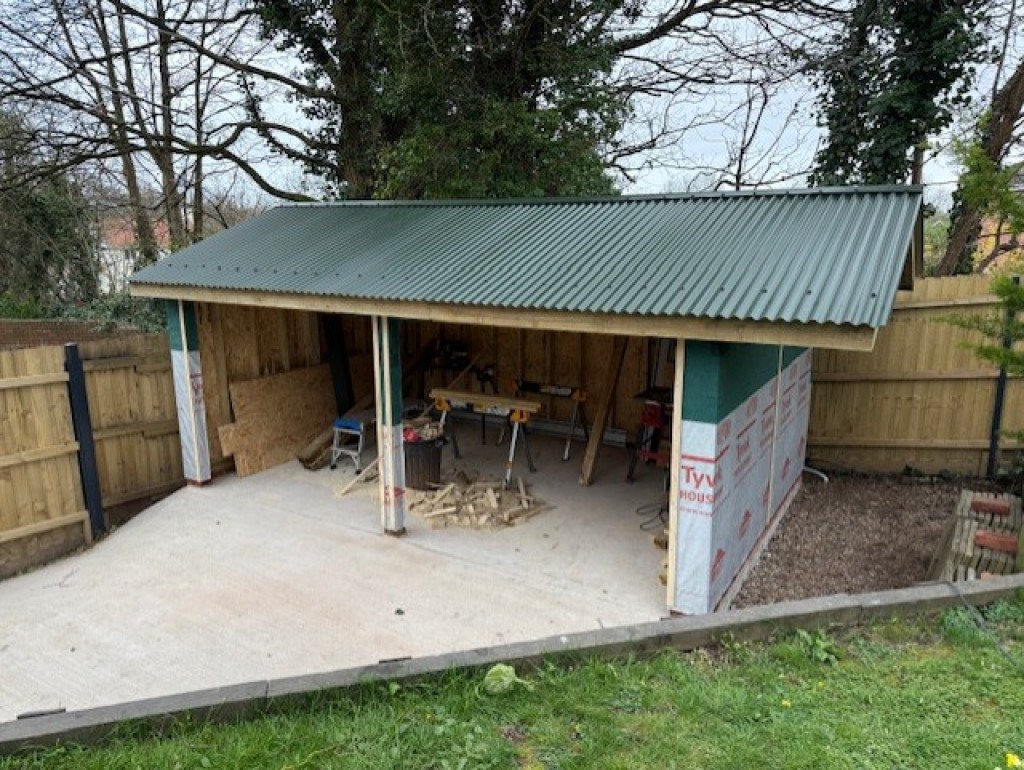
We laid some new armoured cable down to the shed; this entered the shed through ducting we’d added when we had the slab laid. We also added a network cable – I need some internet music whilst working on my projects! As I write this, the shed is finished externally, all the wiring and lighting is completed, but there is still insulation and internal cladding to finish. Hopefully it will be all be done by the end of September and ready for some winter carpentry projects.
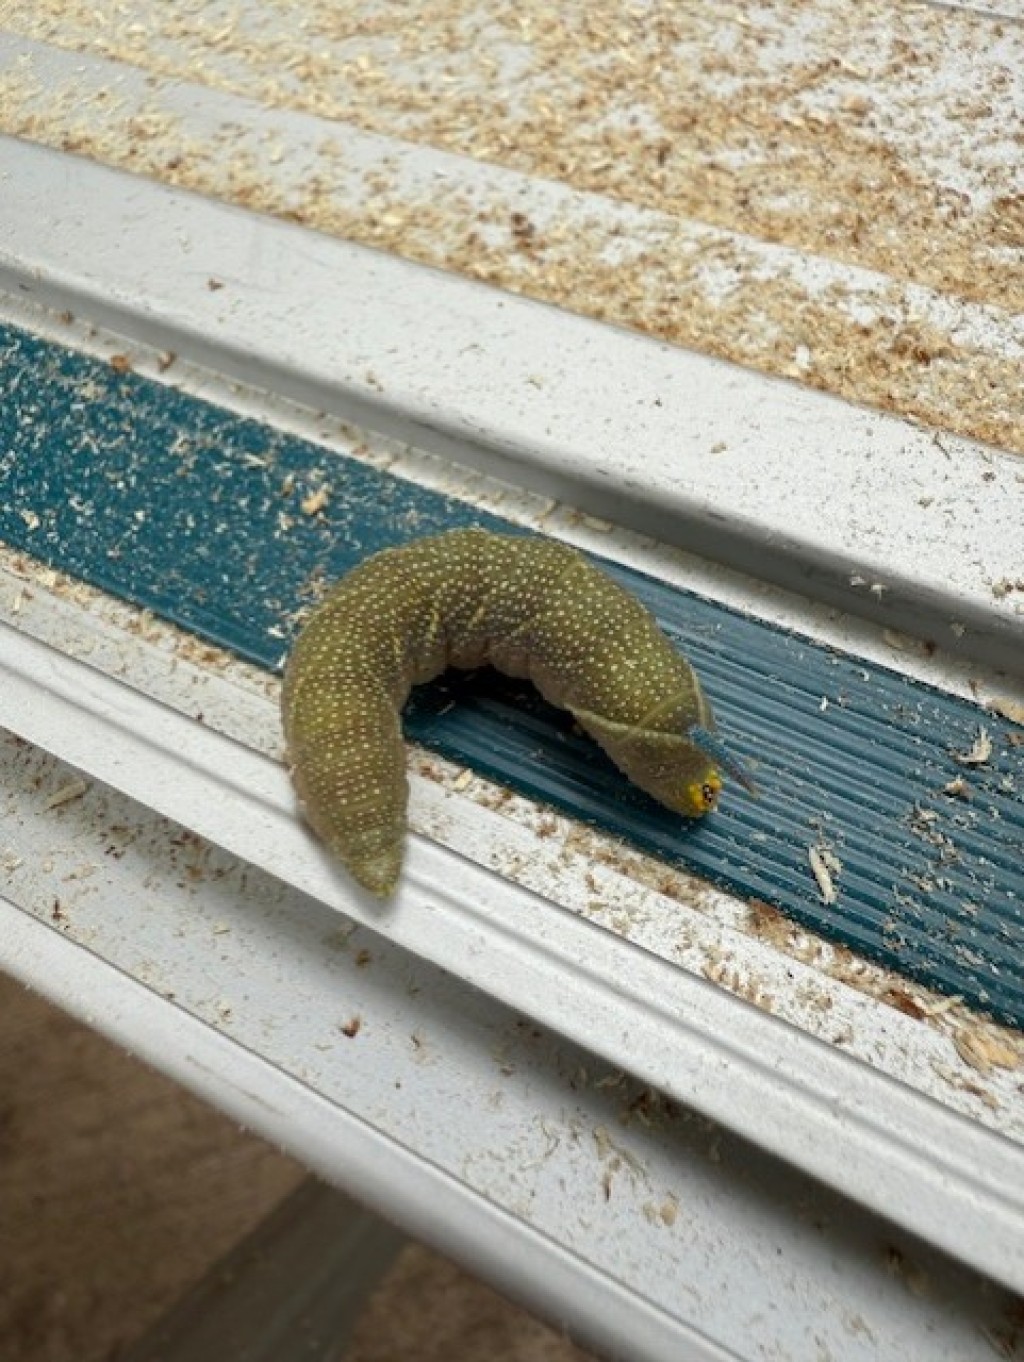
It's been a lot of fun to build – I’ve had the help and advice of some good friends – and I’ve learnt a lot along the way. I managed to break my foot stepping off the slab at one point which stopped the build for a month. Earlier in the summer I also kept finding lime hawk-moth caterpillars on my tools as they fell out of the very large lime tree above me!
Would I change anything? No! I really am delighted with the shed – just can’t wait to get it completely finished and ready for work!
Contributed by Steve
(Published on 1st Aug 2025)